
Let me repeat a simple nugget of information: Its a beginner tutorial, that’s right, not too many difficult tricks on today’s lesson, but if you want something more wicked, you should definitely check out some other illustrator tutorials on the site HERE, thanks.
Step 1
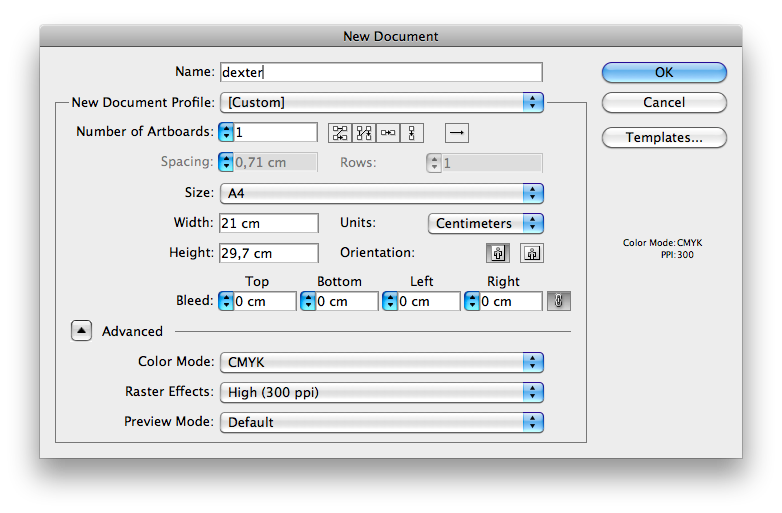
So let’s open Adobe Illustrator and make a blank canvas (command + N / ctrl + N), let’s not stick with a specific size, use the one you feel more comfortable with.
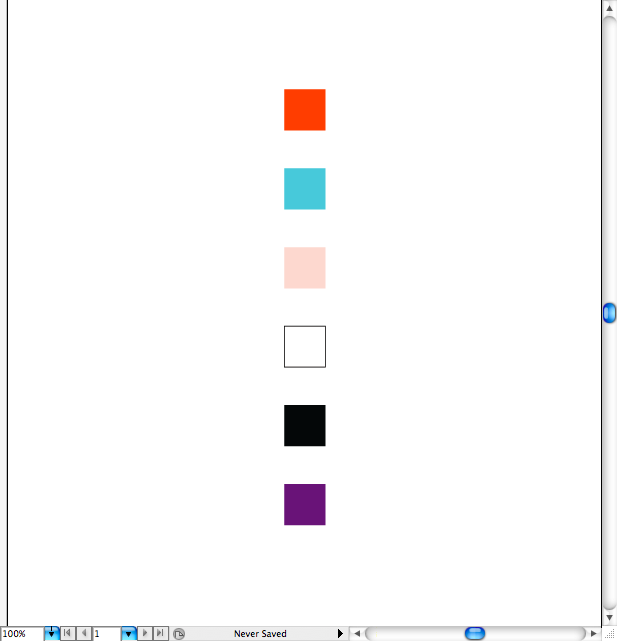
Here are the colors used on the character, you don’t need to screengrab it, it’s already in the downloadable file at the bottom of the Tut.
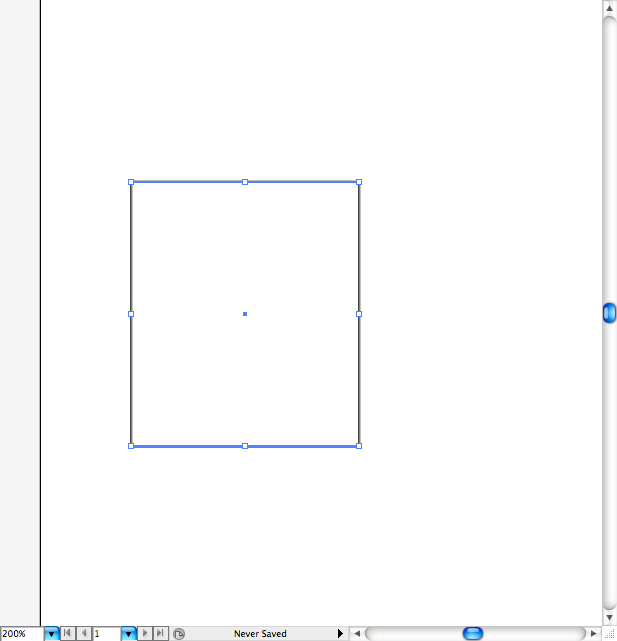
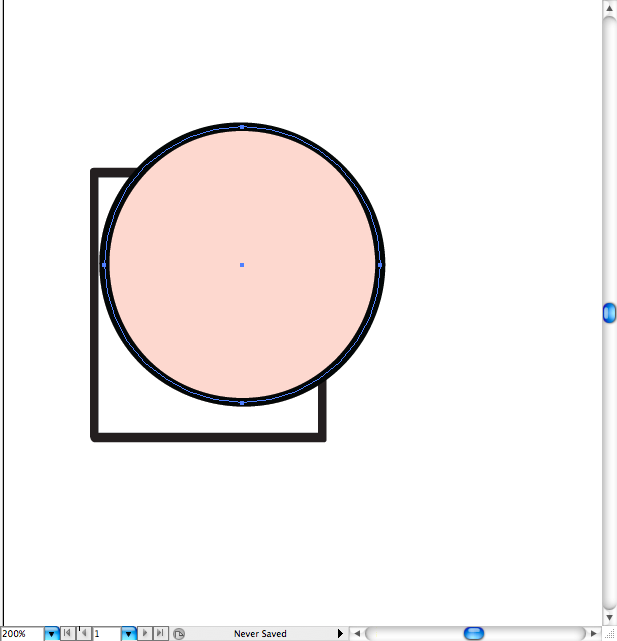
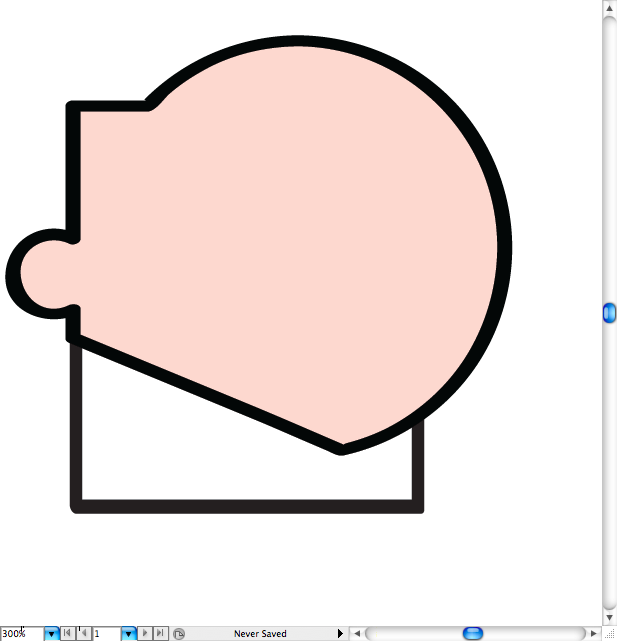
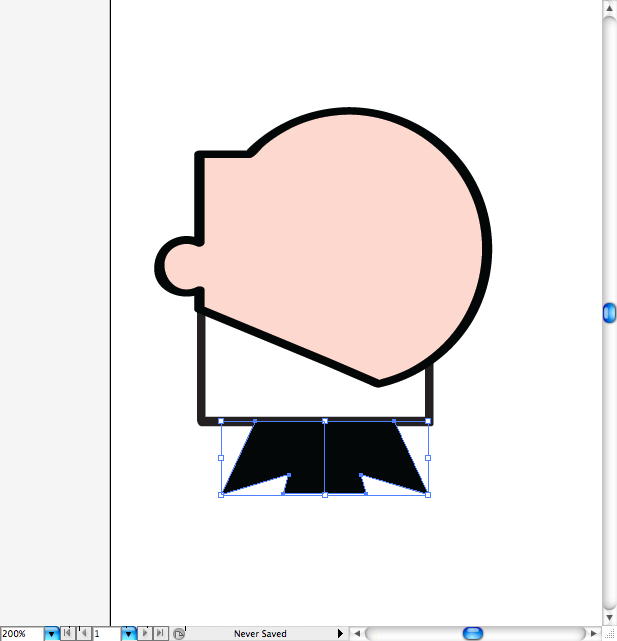
So, let’s begin by making its body. First make a rectangle using the rectangle tool (M).
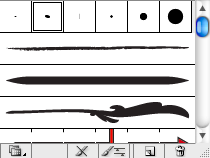
Go to the Brushes panel and choose the one called 5 pt. Oval, it’s my favorite since it creates a smooth and thick outline, great for cartoon characters.
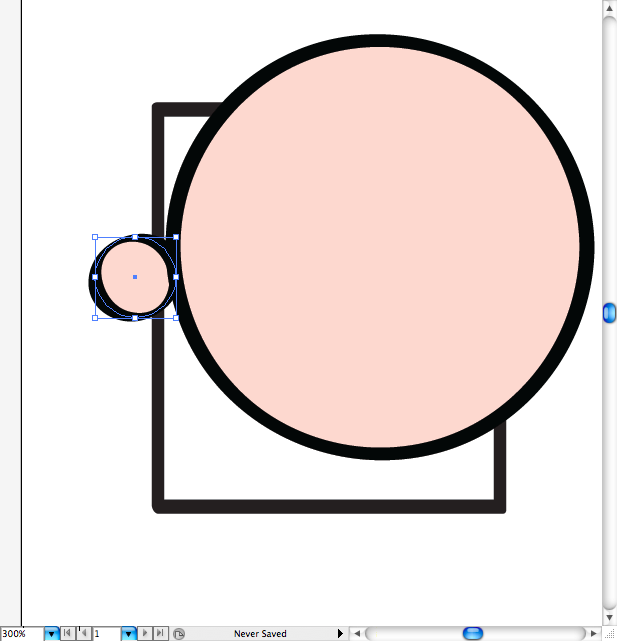
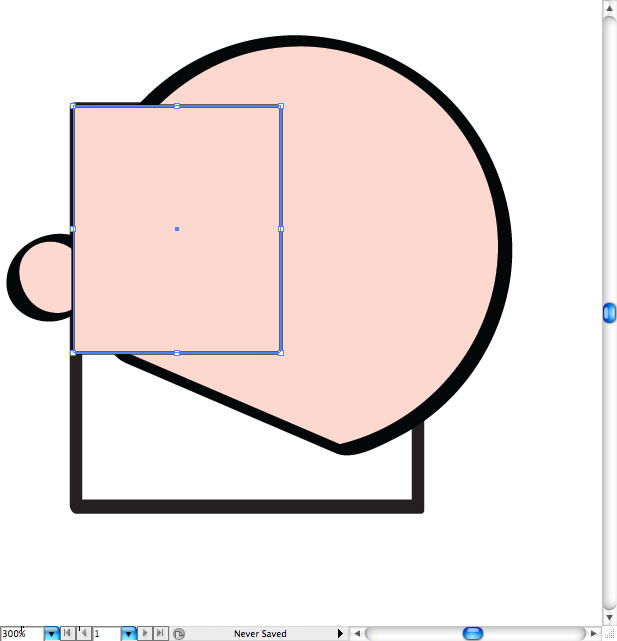
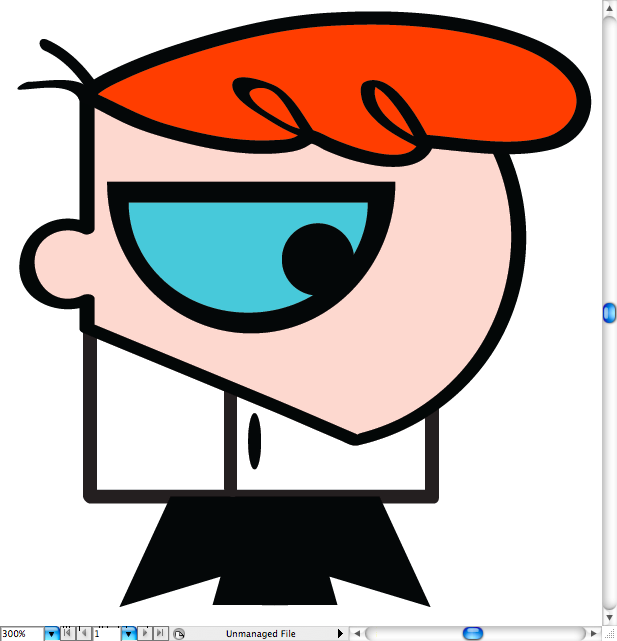
Now let’s make two spheres using the ellipse tool (L), this will be the head and ear. Make a huge one almost at the top of the rectangle, don’t forget to add some beige and stroke on it.
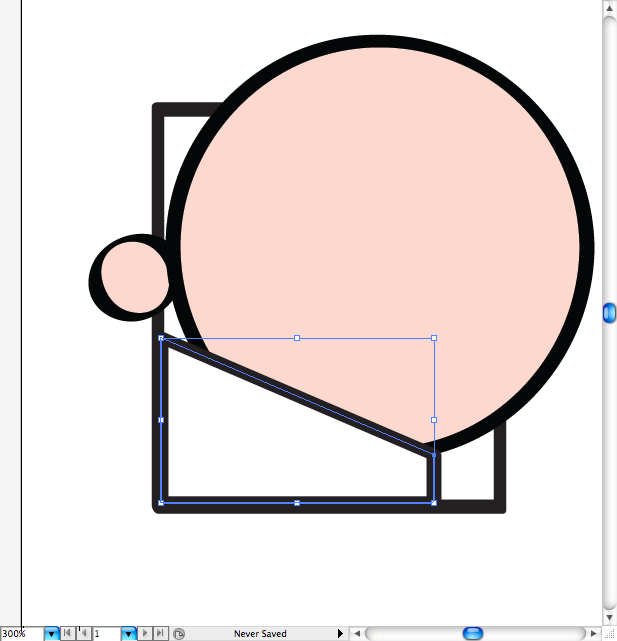
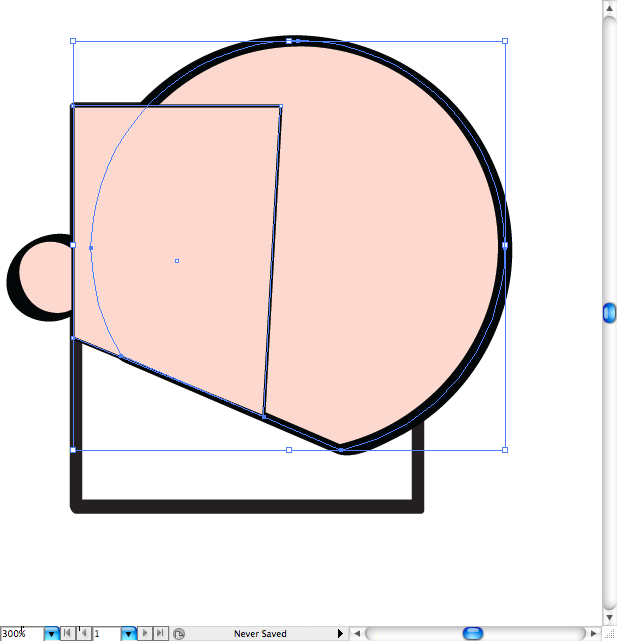
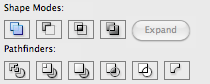
Let’s get a bit familiar with pathfinder panel, but first let’s make a cut rectangle. You can do it by using the rectangle tool (M) then adjusting one of the anchor points using the direct selection tool (A). Select both the big sphere and the shape then use the pathfinder option called Minus Front.

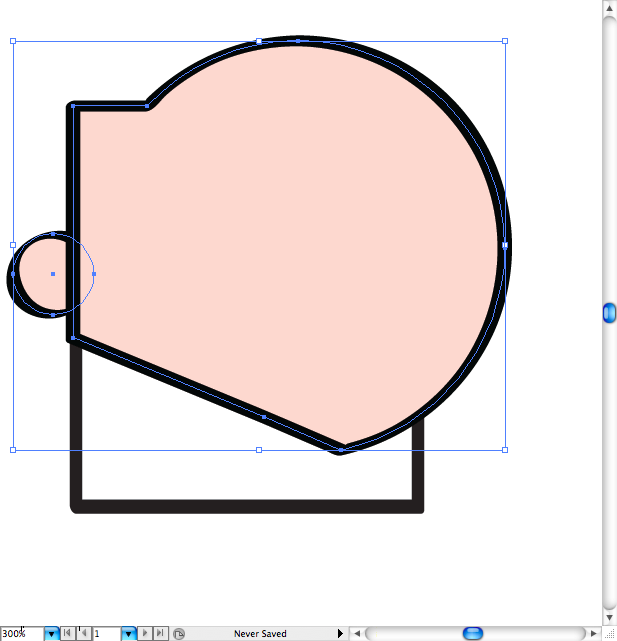
Then let’s repeat this technique in order to define the head and neck of him. This time we’re going to use the pathfinder option called Unite.
Do the same thing with the ear.
Step 2
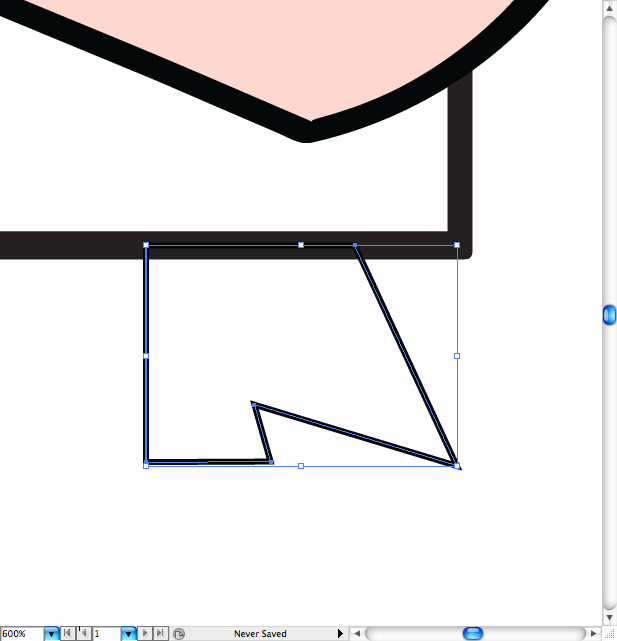
Let’s draw the boots, it’s best to use the pen tool (P) when trying to draw this one. Then just add some black fill on it.
Let’s duplicate it by selecting the boot and using the selection tool (V) + alt.
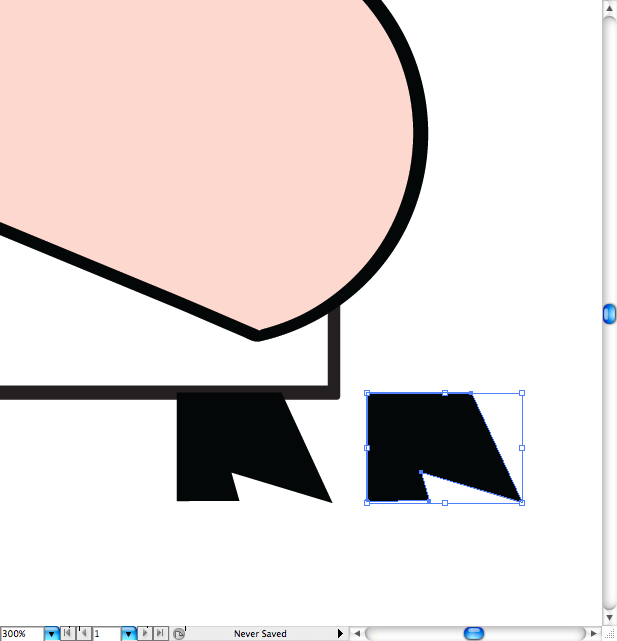
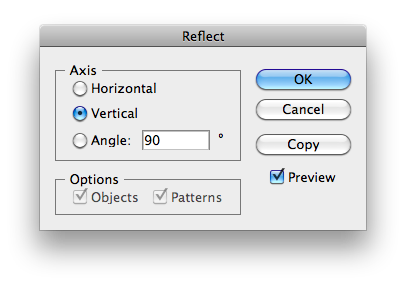
Right click over it, then go to Transform > Reflect. Reflect the vertical Axis.

Step 3
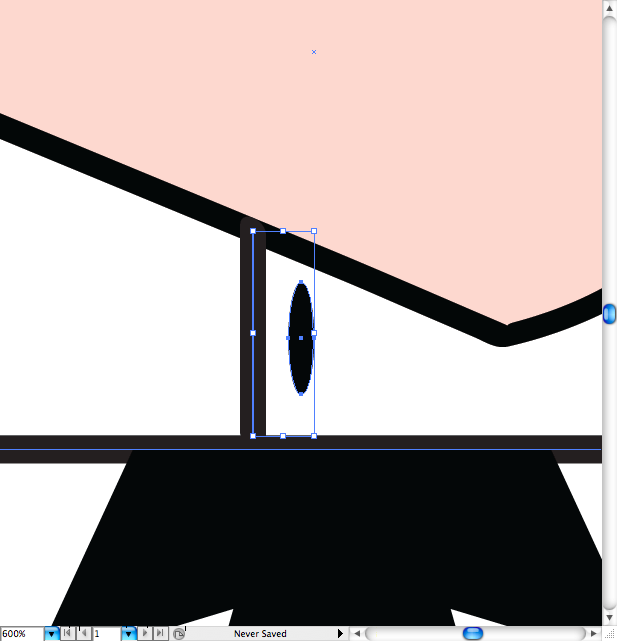
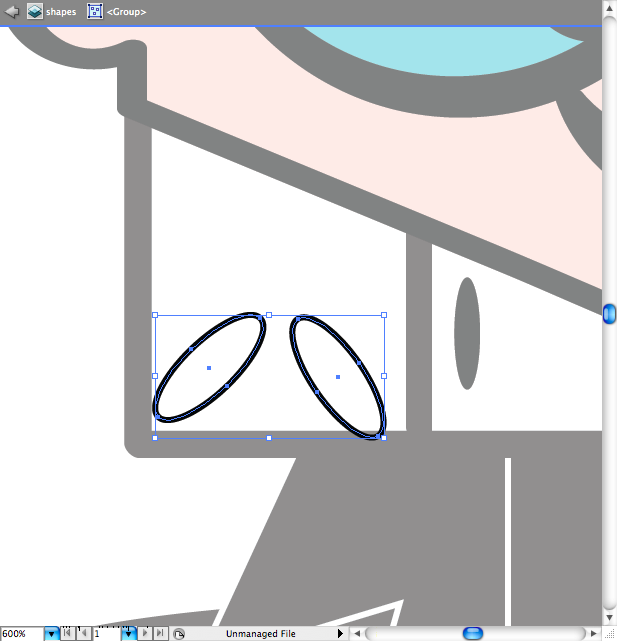
Lets add a button using the ellipse tool (L) and a line using the line segment tool (\) on his suit.
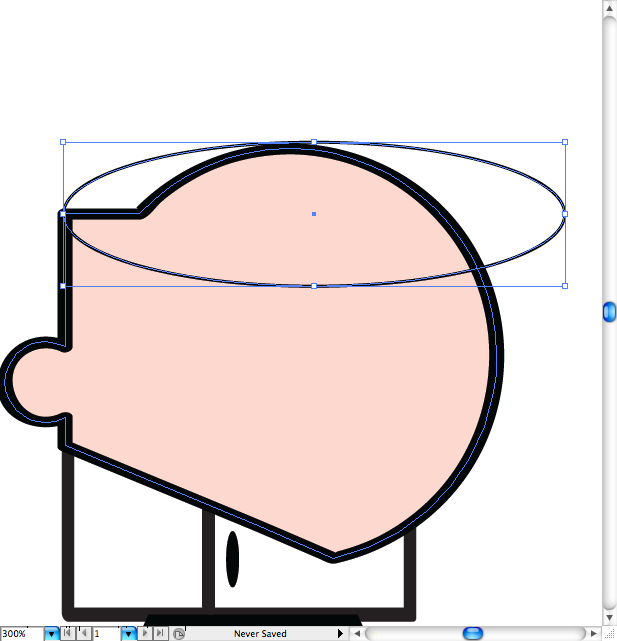
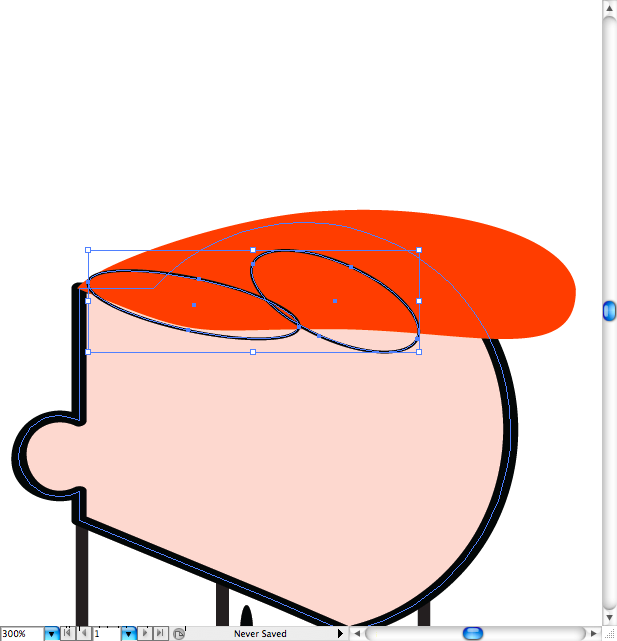
Let’s make his hair. Using the ellipse tool (L) make an ellipse, then using the direct selection tool (A), adjust each point like the the image below.
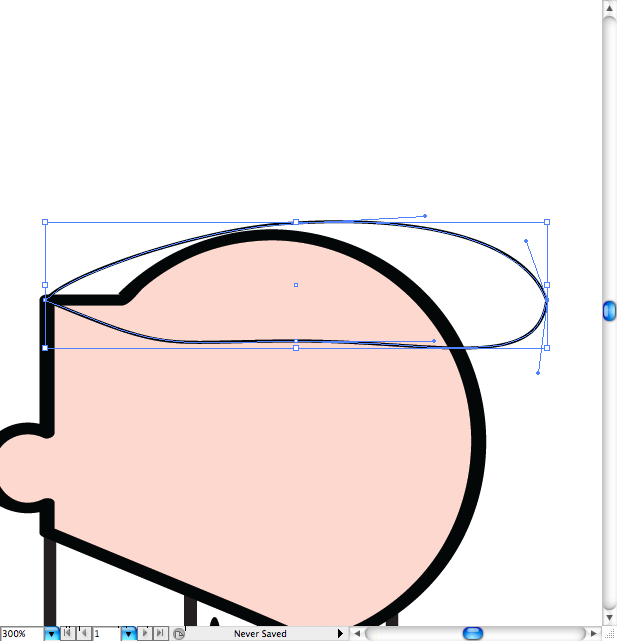
Again using the same tool and make two ellipses.
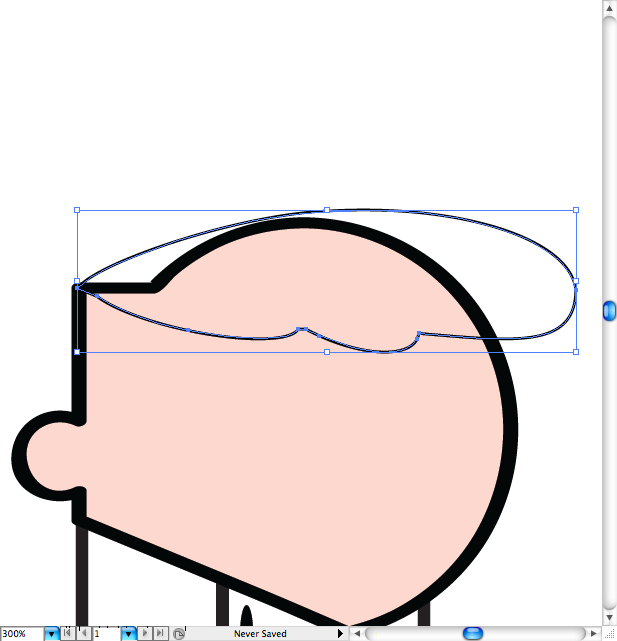
Use the pathfinder option called Unite to make them all one.
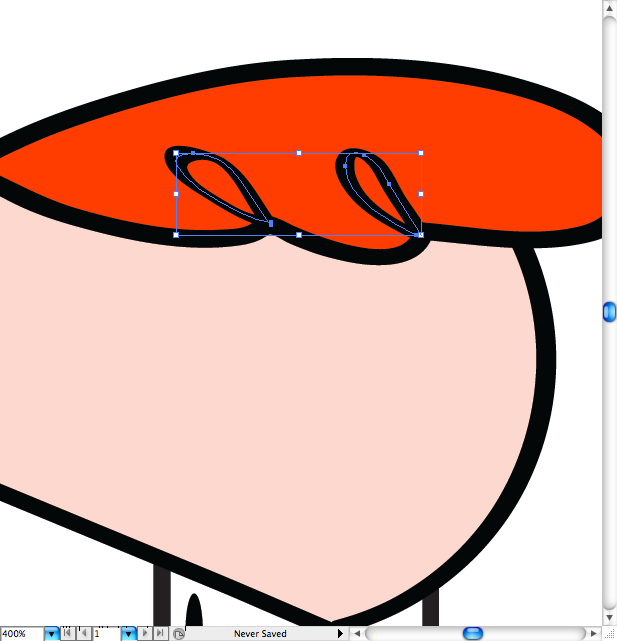
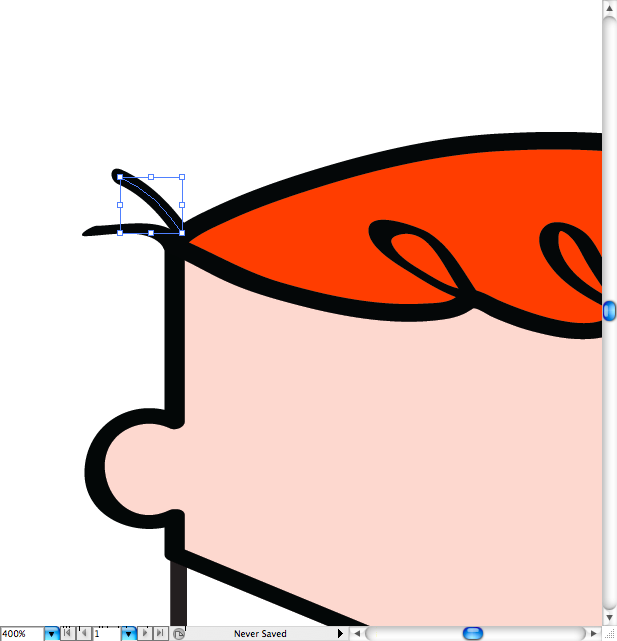
Using the brush tool (B) you can make these details on the hair.
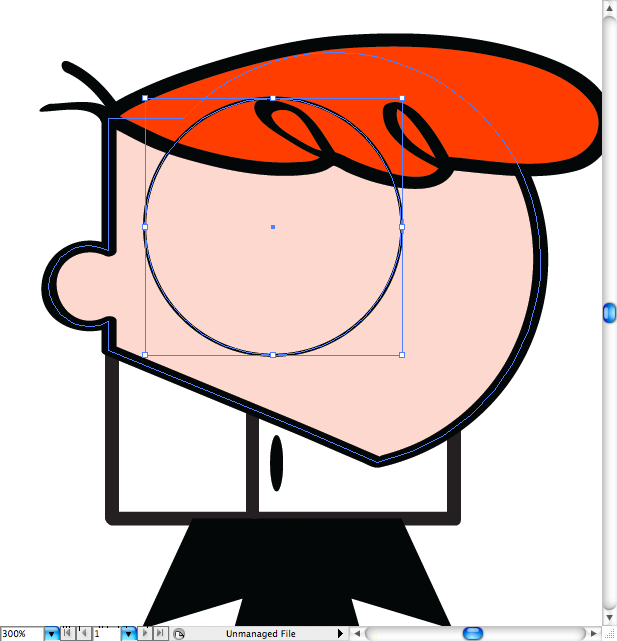
Step 4
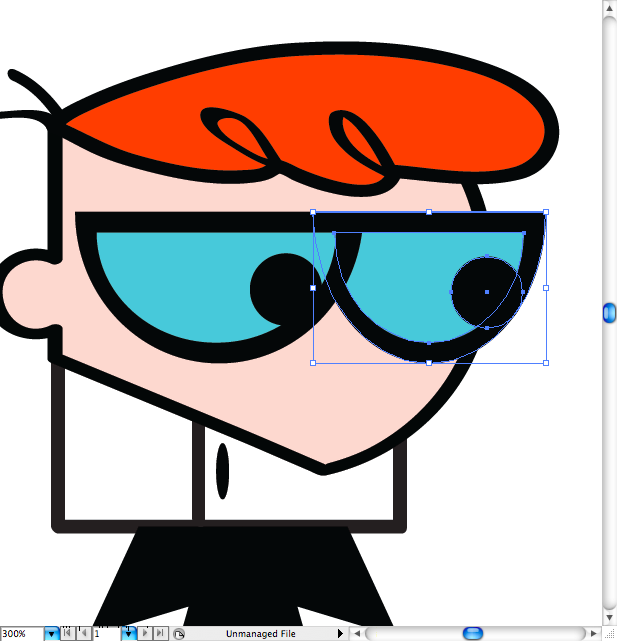
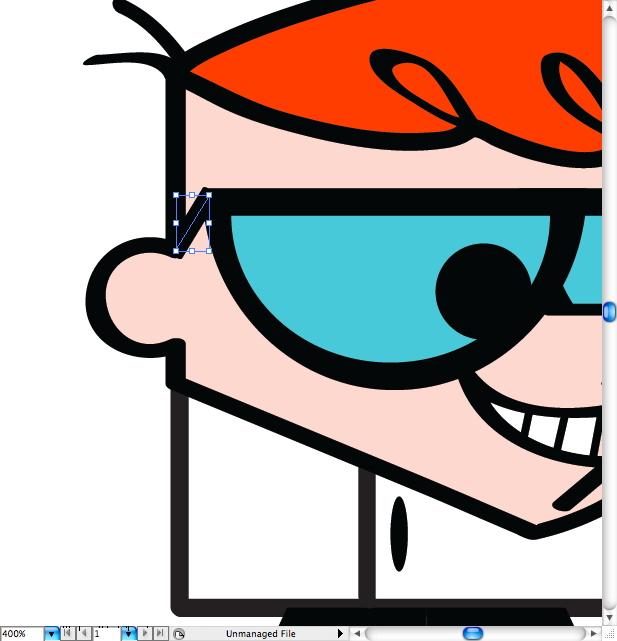
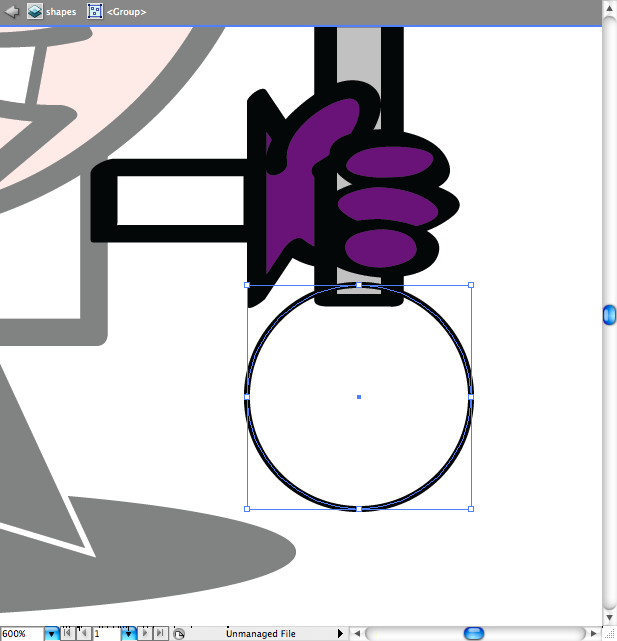
In order to make the glass, let’s first make a sphere using the ellipse tool (L).
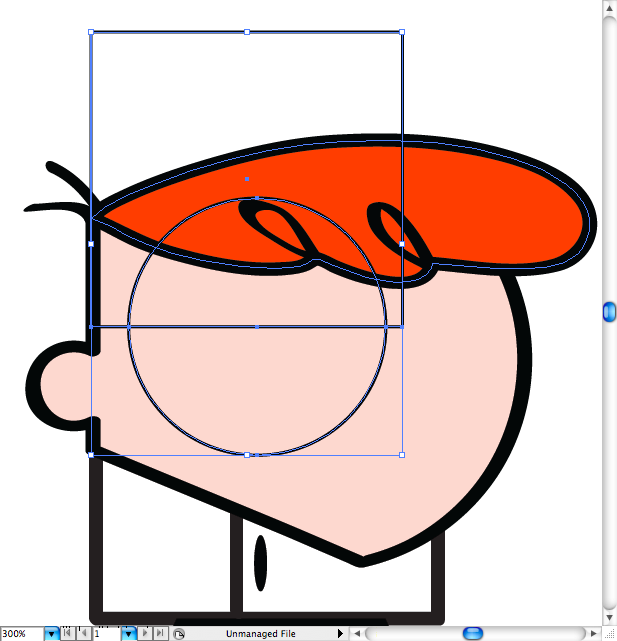
Make a rectangle above it, select both, then use the pathfinder option called Minus Front, add a black fill on the shape.
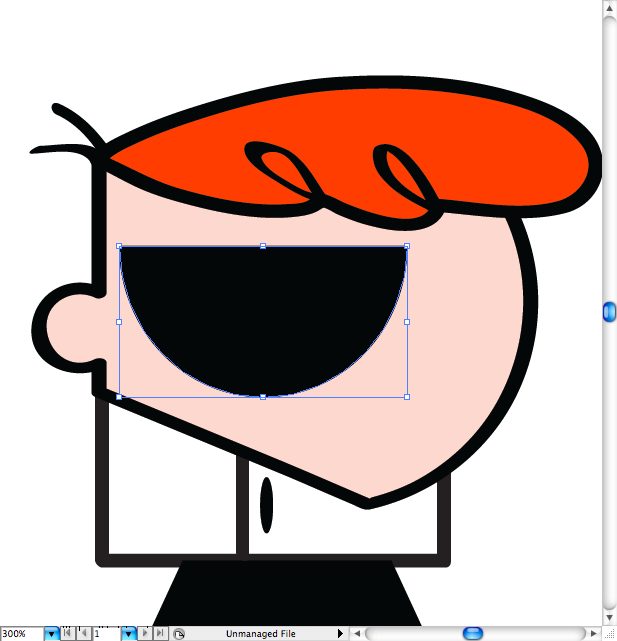
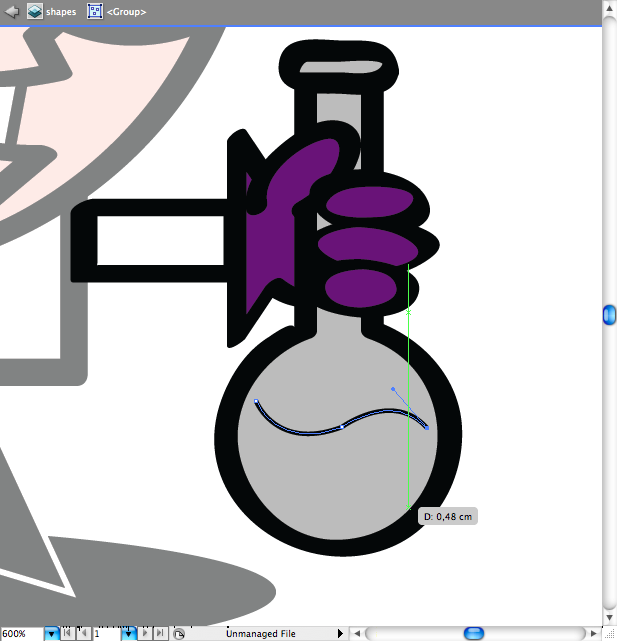
Duplicate it and use a blue fill, then using the ellipse tool (L), make a sphere inside of it.
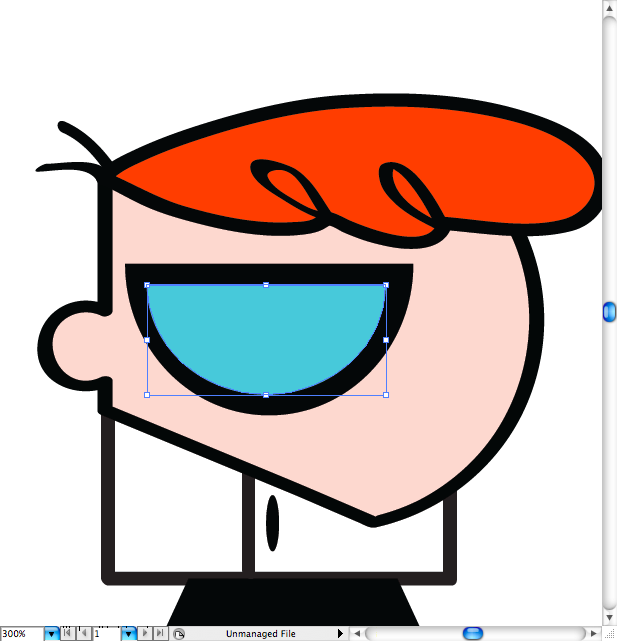
Duplicate and adjust the three paths using the selection tool (V).
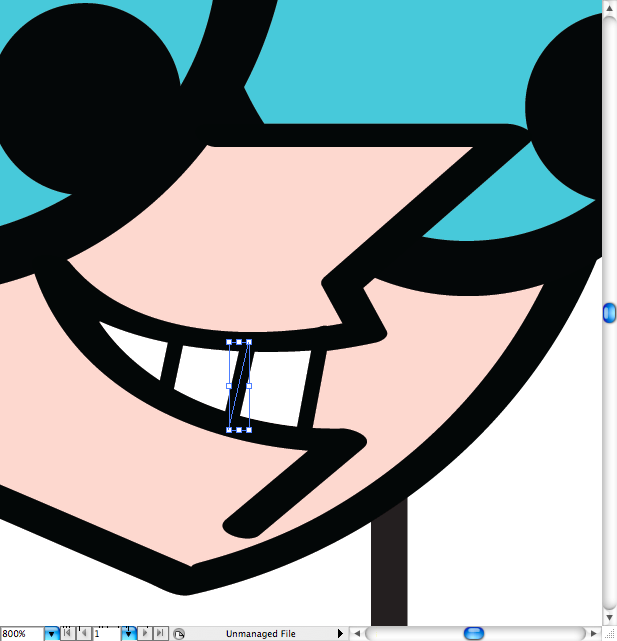
We’re going to need to use the pen tool (P) again in order to make the mouth, but that’s no big deal.
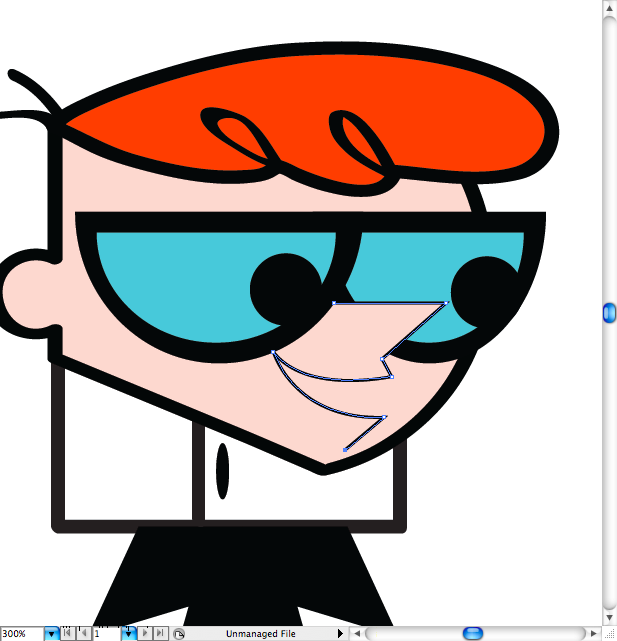
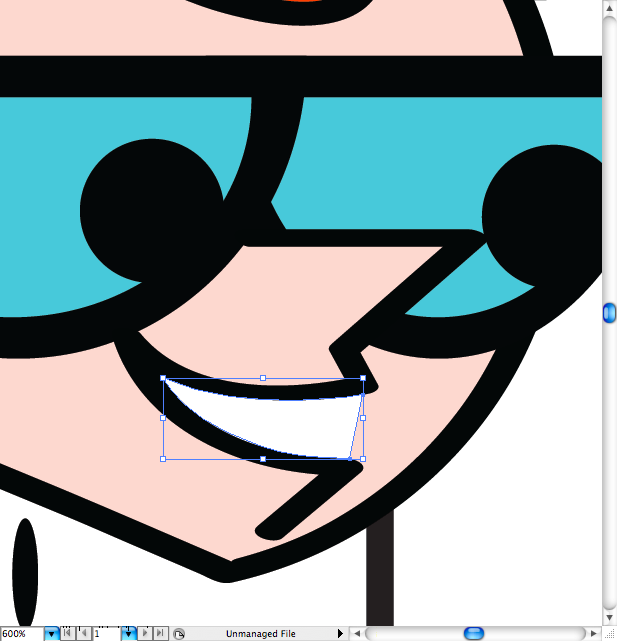
Use the line segment tool (/) to make the teeth and the temples.
Finally let’s add a white fill on the boots then let’s make a sphere on the bottom using the ellipse tool (L).

Step 5
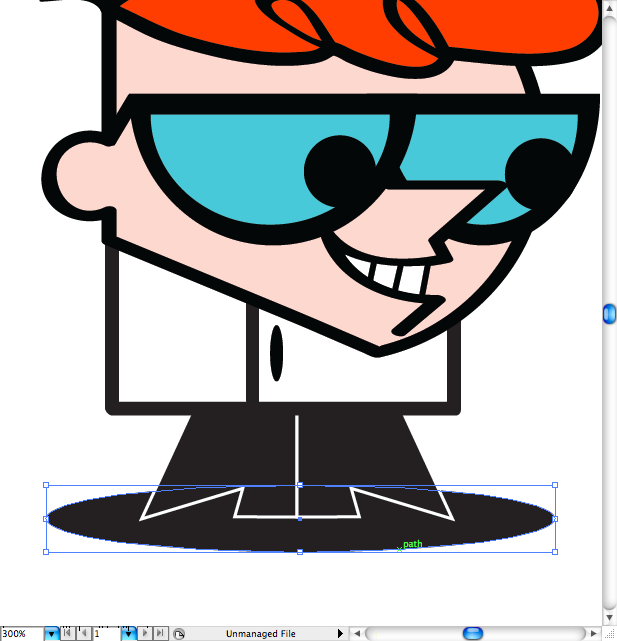
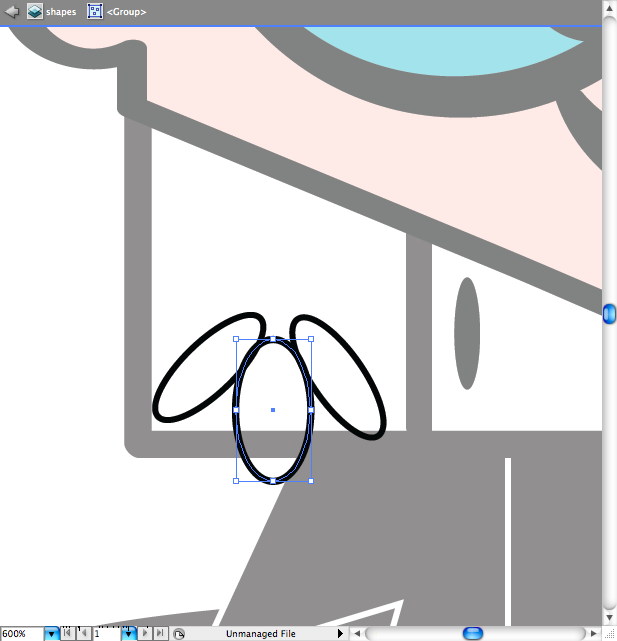
You know something, I really hate drawing hands and I bet you don’t like it either so let’s try to make this part easier. First make two ellipses using the ellipse tool (L)
Make a bigger ellipse on the center.
Using the polygon tool or the star tool, make a triangle.
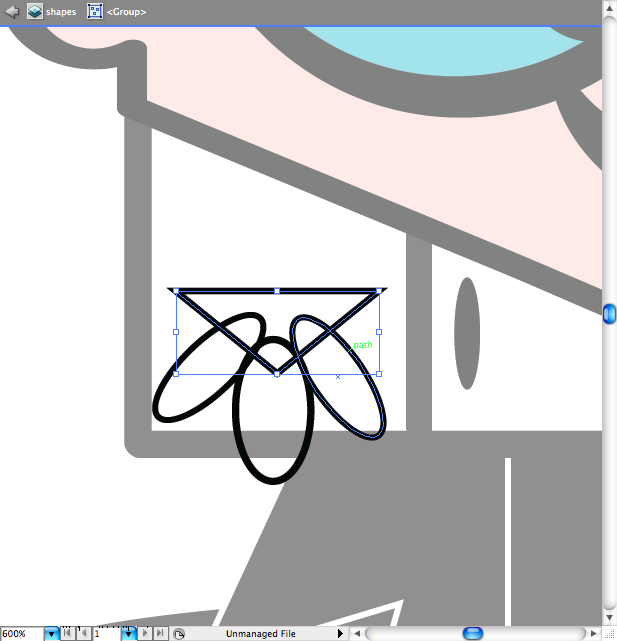
Use the pathfinder option called Unite to make it one path.
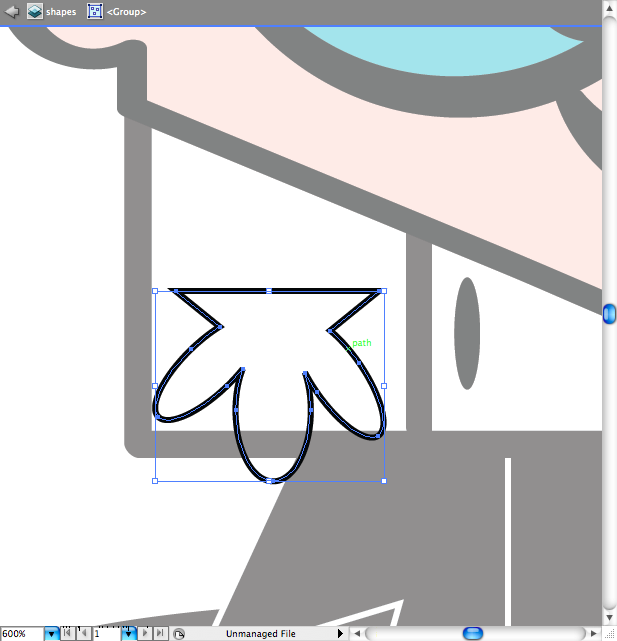
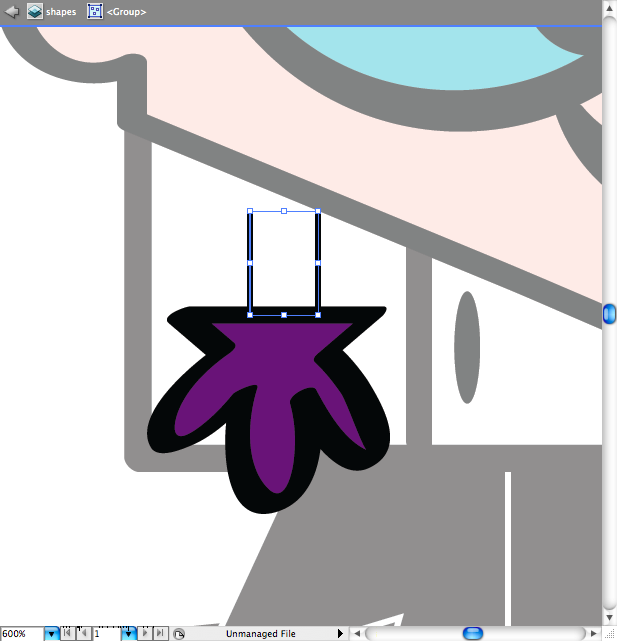
Using the pen tool (P), make this open rectangle. And add a stroke on it.
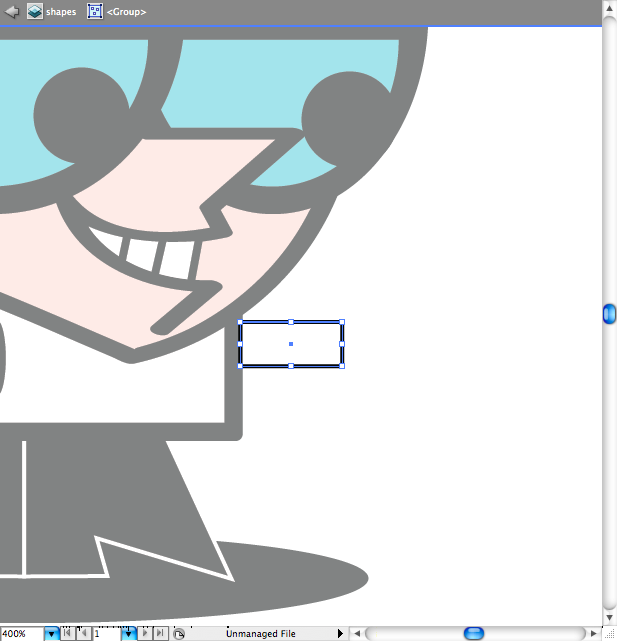
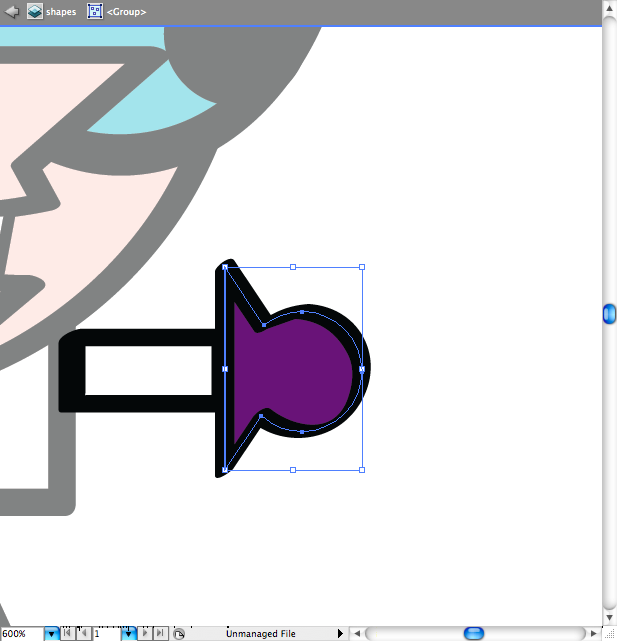
You’re going to repeat nearly the same technique for the other arm, using the rectangle tool (M) make the arm.
Make the triangle again and a sphere.
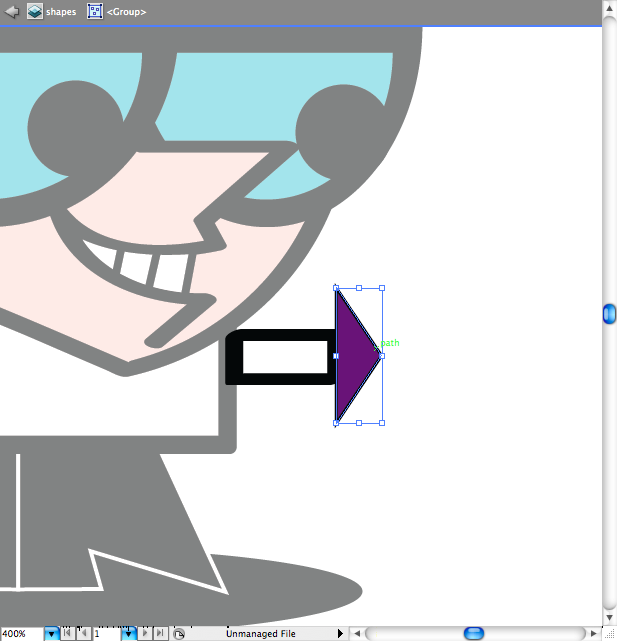
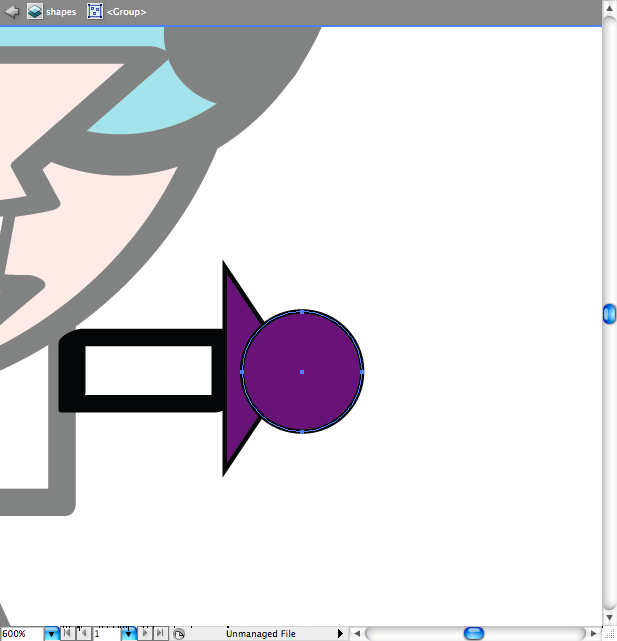
Don’t forget to add the stroke on it.
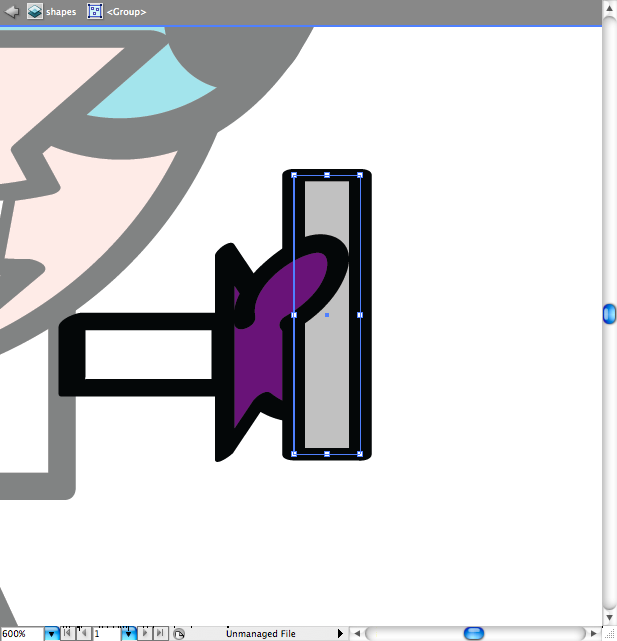
This ellipse will be the toe, after creating it use the path eraser tool to cut only a part of it, later you’re going to understand why.


Make a rectangle between the toe and the hand, it’s not a big deal.
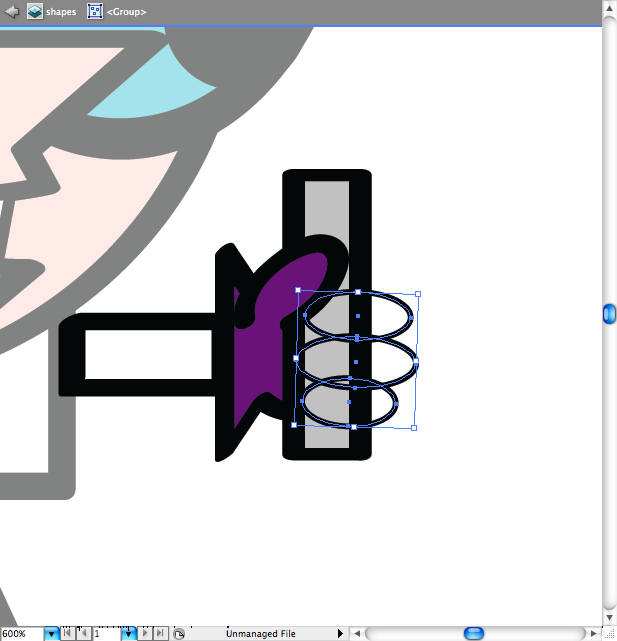
Using the ellipse tool (L), make the other fingers around the rectangle.
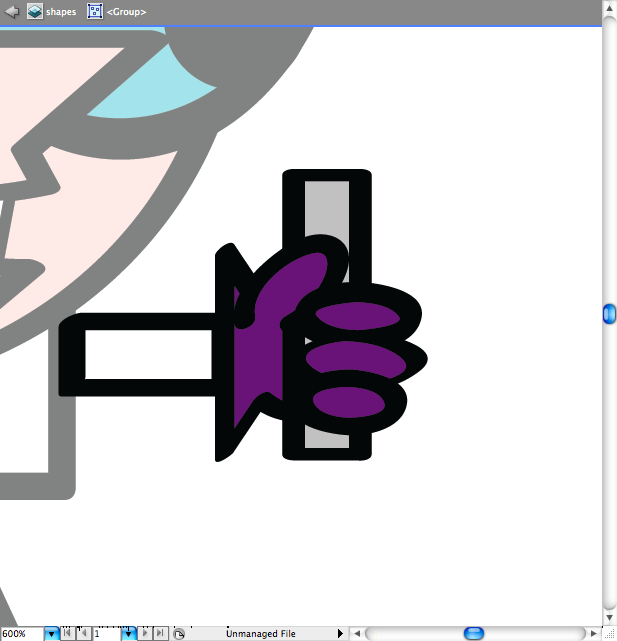
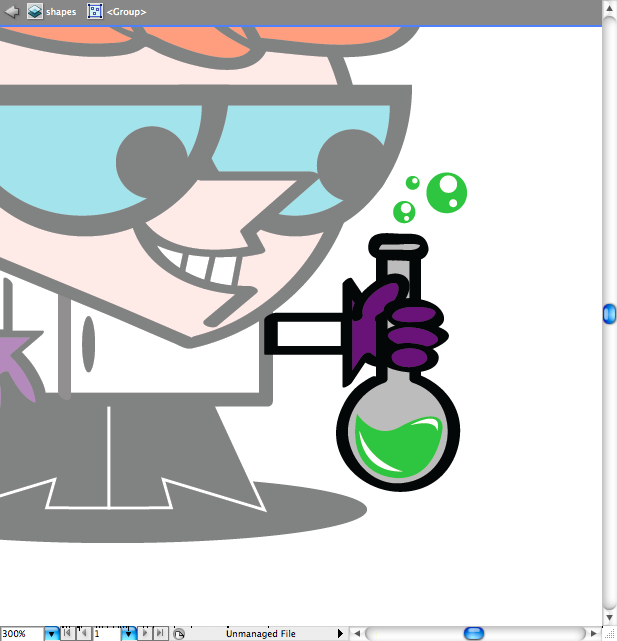
Now create a sphere using the ellipse tool (L), then use the Unite option at the pathfinder panel to make the object.
Add a bottleneck using the rounded rectangle tool.


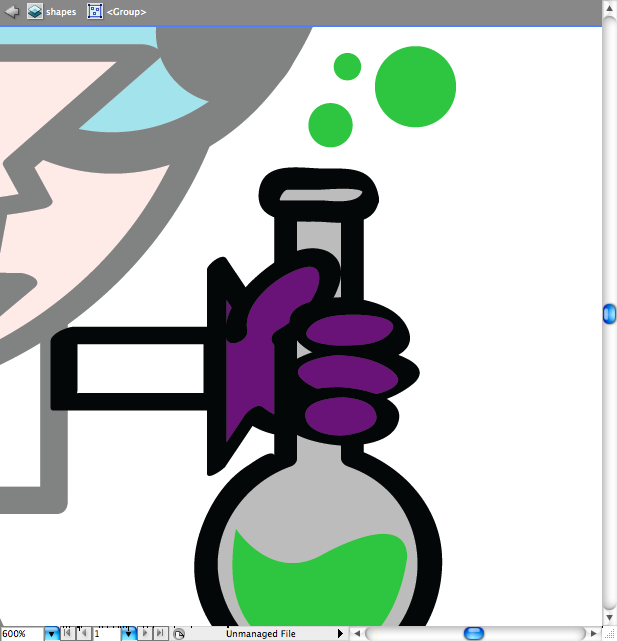
Using the pen tool (P) you can create the green liquid inside the bottle.
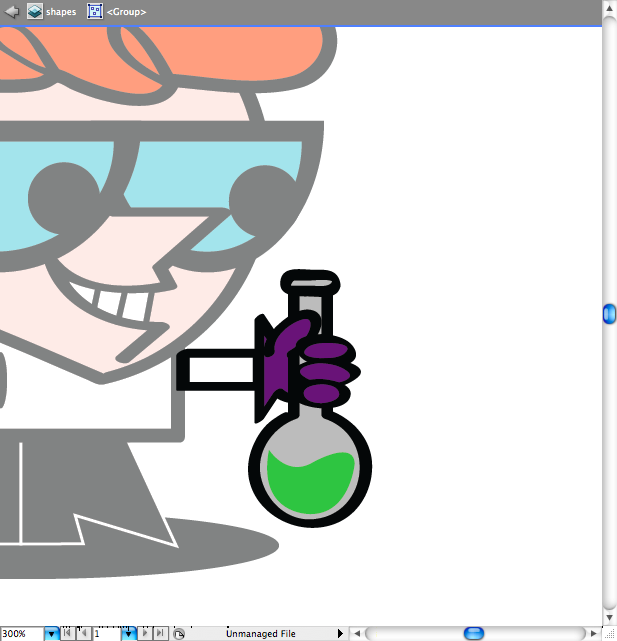
Add some bubbles using the ellipse tool (L) and don’t forget to add some simple reflexes on it later.
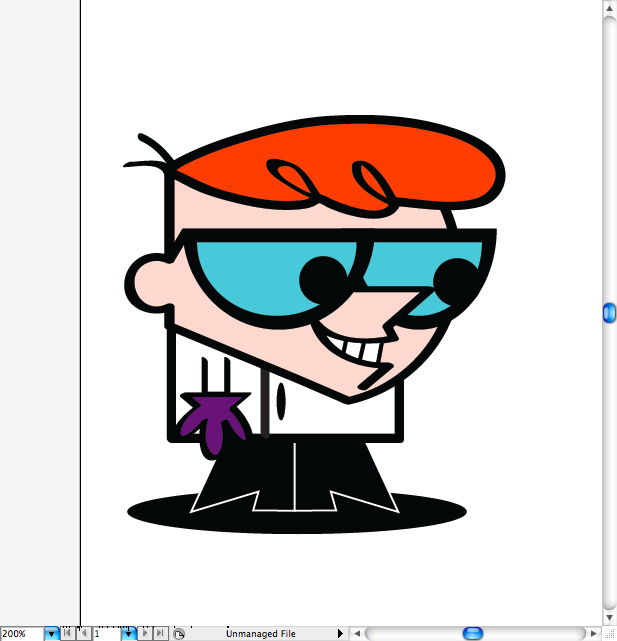
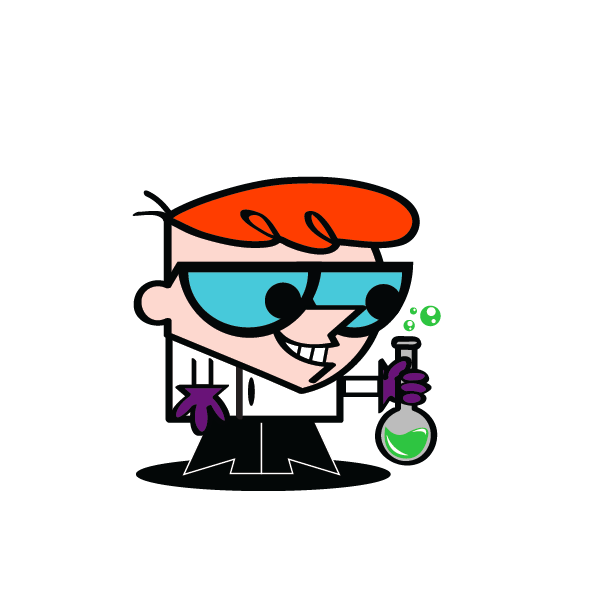
Final Result
Well, I hope everyone enjoyed trying this. I’ve tried to make things easier for you guys as you can see we pretty much used basic pre made shapes and avoided using the pen tool. However, even If you’re “vector king” there’s always some good tricks to learn on a beginner tutorial like this one.
Download the Illustrator File
CLICK HERE TO DOWNLOAD THE ILLUSTRATOR FILE USED FOR THIS TUTORIAL.


