

The tool is so fast and with the new version you will be able to do pretty much anything you want. So in this tutorial I will show you how to create a simple artwork mixing typography and images.
Step 1
Open Pixelmator and create a new document. I am using the A4 preset.

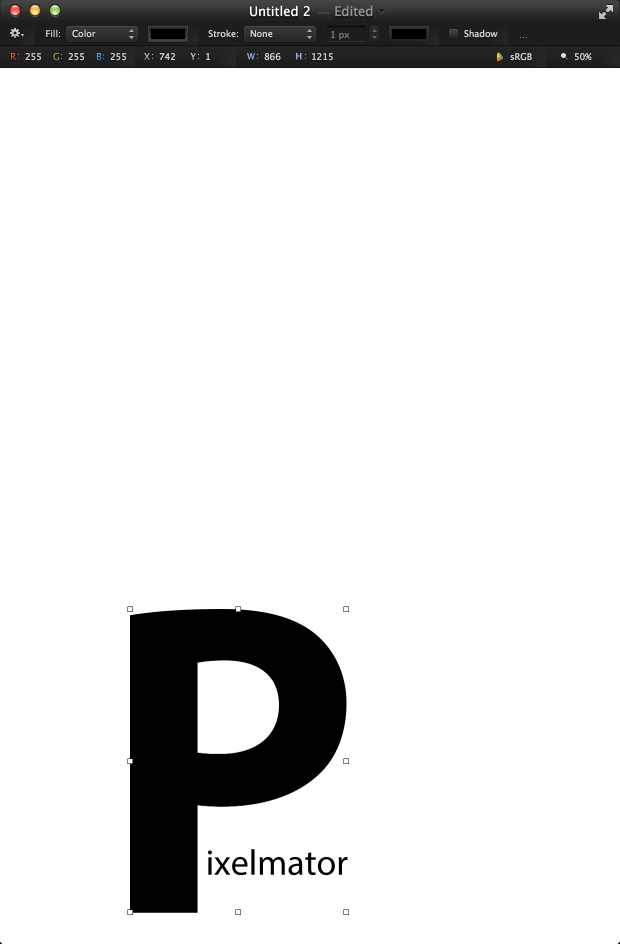
Step 2
With the Type Tool (T), add one layer with a very big P and another layer with a much smaller text “ixelmator”. The font I am using is the Myriad Pro.
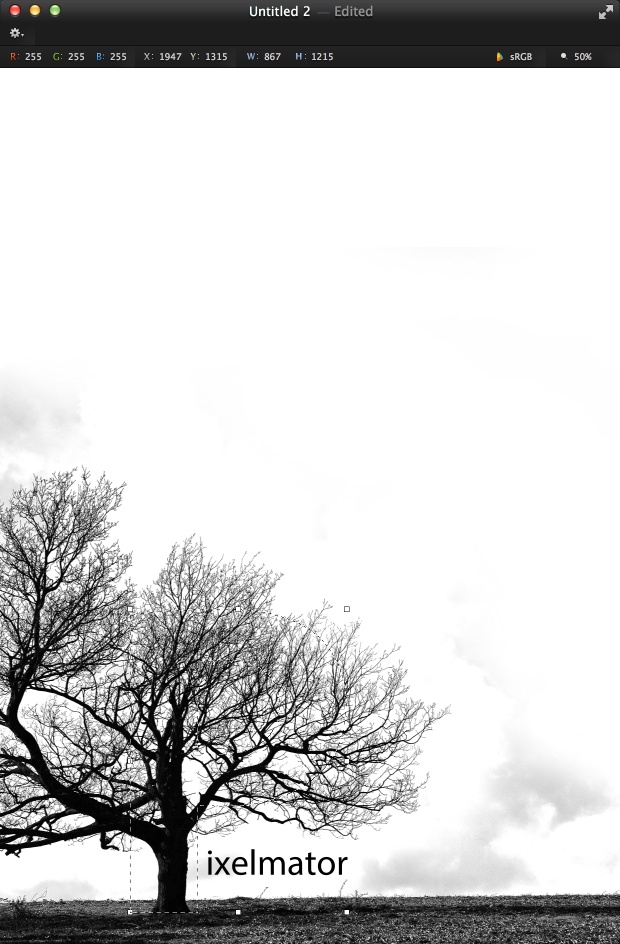
Step 3
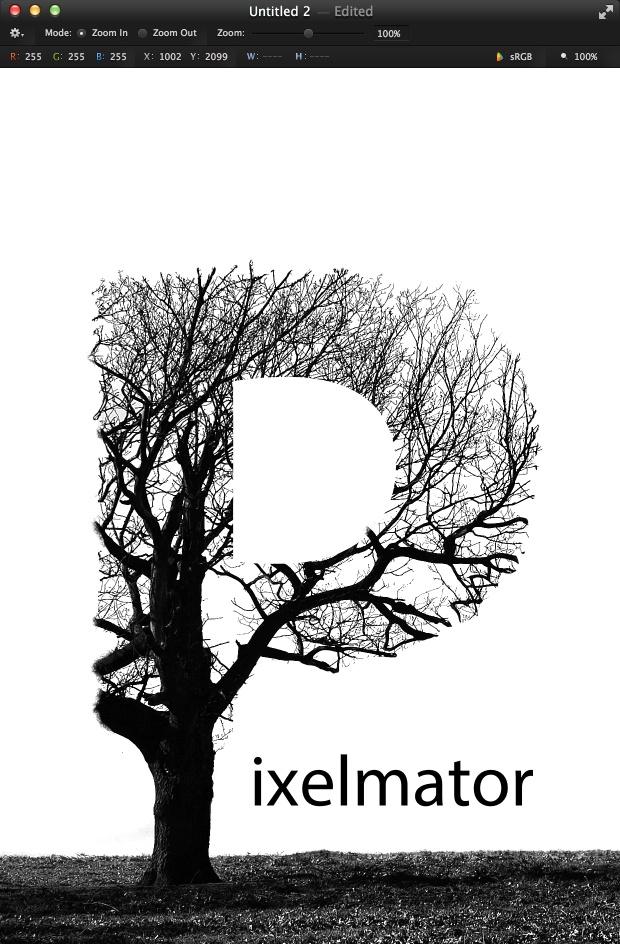
Type to import an image to use for our photo montage. The one I am using is courtesy of Shutterstock and it’s titled “Cliche tree on hill with beautiful blue sky background in black and white” by Matt Gibson.
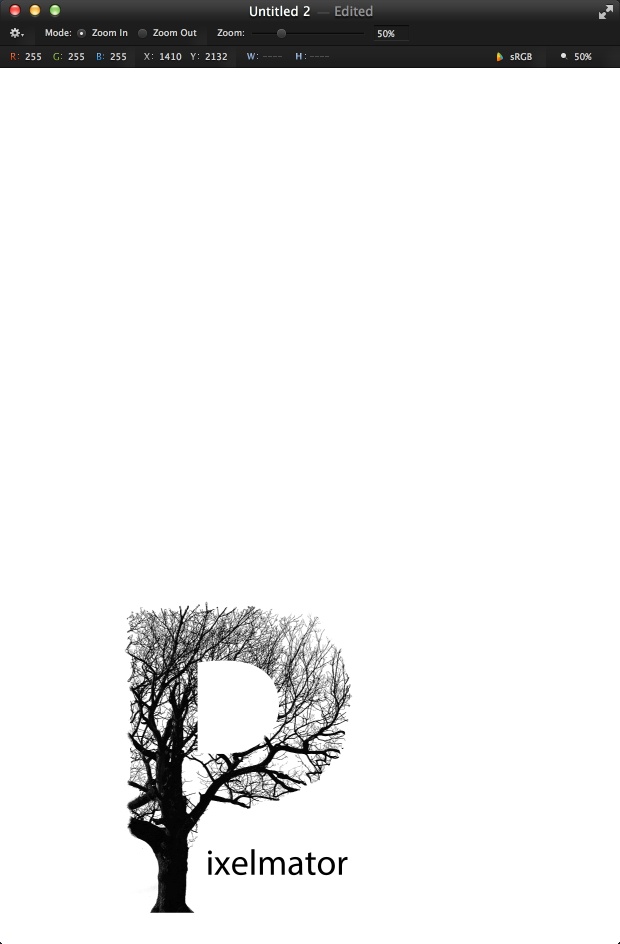
Step 4
Create a marquee selection using the big P then mask the image so you have the P and the tree blended.
Step 5
With the Brush Tool (B) start refining the edges so the branches are not just the mask cutout. It’s important to keep the shape of the P visible, so be very careful on this step.
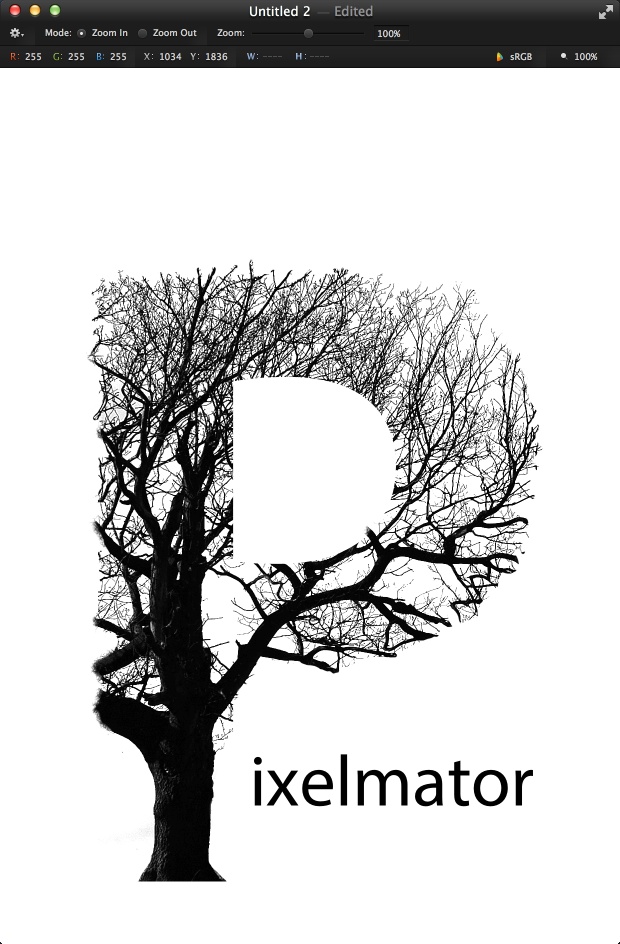
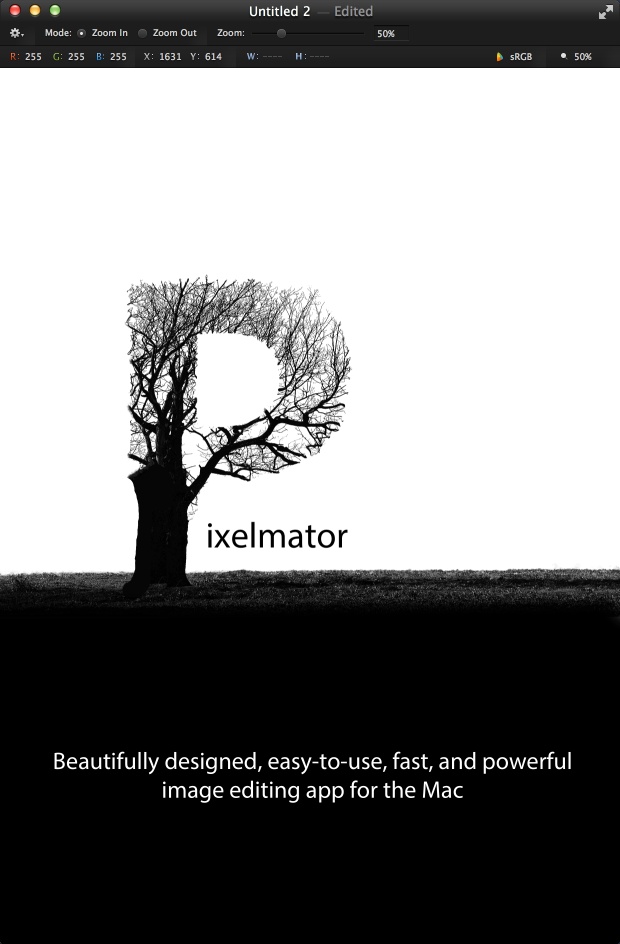
Step 6
Make the ground part of the image visible. Keep using the Brush Tool to edit the mask.
Step 7
Make the trunk of the tree a little bit wider.

Step 8
Make half of the page black and move the composition up. Also add some more text o finish the composition.
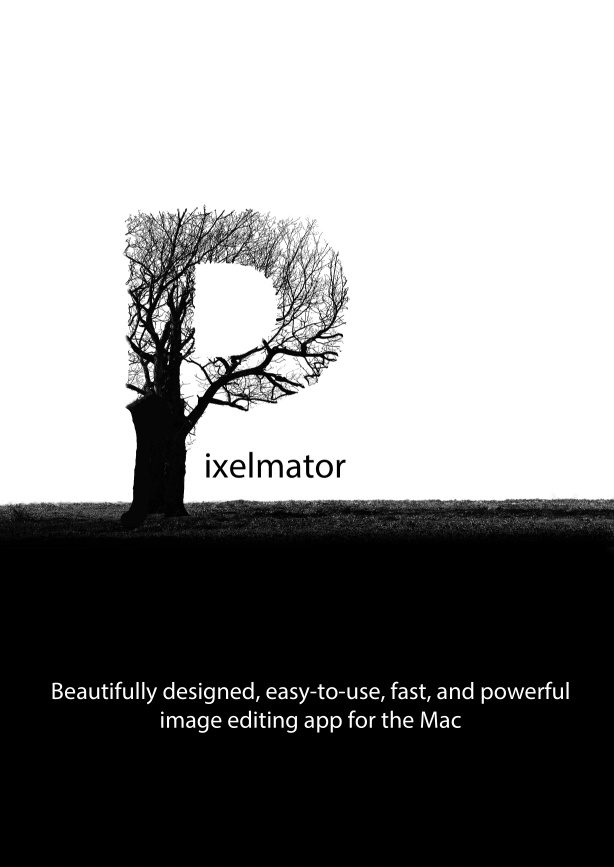
Conclusion
This is a little tutorial showing how to play with masks and text in Pixelmator to create a sort of double exposure effect in a way. The whole process is pretty straightforward and you won’t take more than 45 minutes to do an effect like that. Now it’s up to you 🙂
Download Pixelmator file
Download the Pixelmator file used for this tutorial.